hey friends! I hope that 2023 is off to a great start for all of you! A few posts ago, I posted what my vision board looks like with my goals. I thought I should l also make a post one go to make one, and really, it’s not that hard at all, so you’ve got this!
Vision boards are great for making a physical copy of your goals that you can hang up to remind you each day. You can hang it up by your desk, use it as a wallpaper, or glue it to the front of a notebook! So, I’ll be showing you how to make two kinds of physical boards and a digital one!
I also said a little something about a secret project I’ve been working on in Tuesday’s post, so I’ll also be revealing that towards the end of the post. But don’t just scroll down because today’s post is super fun, and super easy to recreate yourself, so get reading! 🙂
How to make a physical copy of your vision board
Gather glue stick, scissors, and inspirational photos and goals
1. Write down your goals
Starting by writing own your goals is super helpful, so you know what pictures to look for. You can find templates online or just write them down in a notebook.
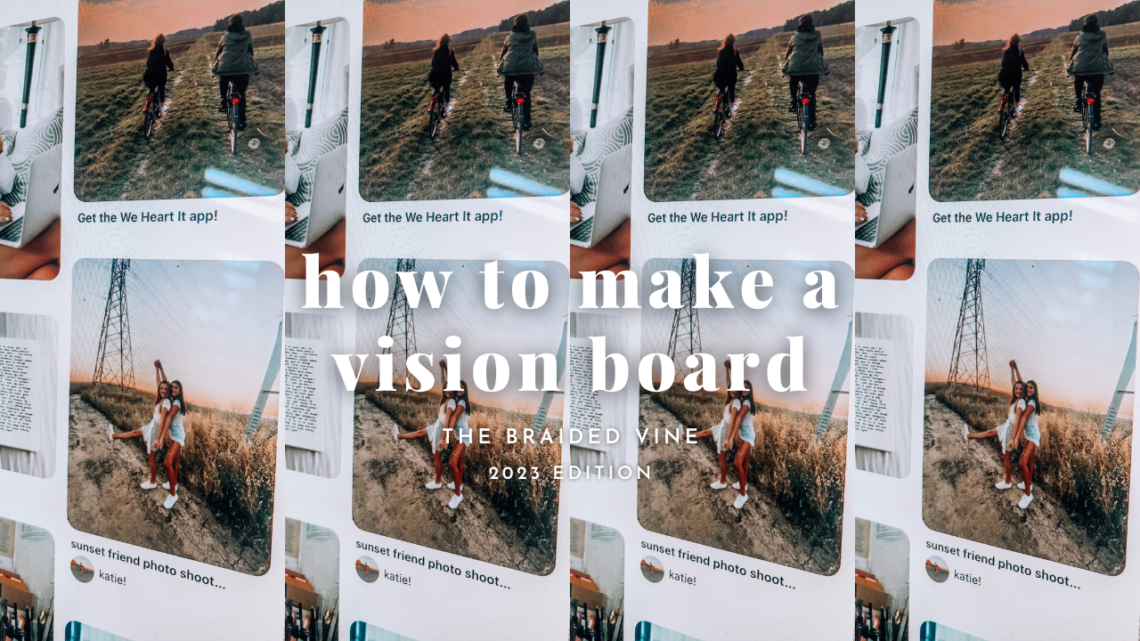
2. Find Pictures

Now, you can go on Pinterest, the web, or your own camera roll and look for pictures that match up with your goals, or even are just pretty and you like the way they look. For example, If one of your goals is playing and instrument each day, then you could find an aesthetic picture of, say, a guitar, and put that on your board. *tip* canva is also a great place to look for photos-they’re free, and just look up “aesthetic photos” and there are plenty!
3. Upload pictures into Canva or Google Docs

Once you’ve collected your photos, you can save them into your camera roll and insert them into Canva. I like to put two or three pictures per page so that when I print them, they come out big enough to glue onto my board, but also so they aren’t too small or too big.
4. Type out quotes, sayings, and your goals

Now you can type out quotes and things on Canva to print and paste onto your board. Here are some ideas:
Good things are coming
The Lord will never leave or forsake you
Remember why you started
Be open to learning
having faith means being at peace, even when you don’t have all the answers
Be Original-This is my phrase of the year and who I want to be this year!
5. Arrange printed quotes and photos
Once your photos and quotes are printed, before you glue them, arrange them how you want on your poster board or piece of cardboard so you make sure you like the layout before you glue everything down.
6. Glue it down!
Once everything is arranged the way you want, glue it down, starting with the photos and ending with the quotes and goals that are layered.

Now you can hang it up somewhere were you can see it and it can remind you of your goals and visions for the year!
How to make a digital copy of your vision board
With a digital copy, you can print it out just to be as big as a sheet of paper, or, to use as a wallpaper on your phone, iPad, or laptop!
1. Write down your goals on a google doc
If you write down your goals on a Doc, then it’ll be easier to copy and paste into your Canva collage, and you’ll also have a saved copy of your goals that will last FOREVER. Ok, maybe not forever, but your iCloud can hold a lot of stuff 😂.
2. Find your pictures and save them to you camera roll
I suggest saving the pictures to Canva from your phone, then opening Canva on your laptop and your pictures will already be saved, so it won’t be as big of a pain to upload from your phone, to your computer, to canva.
3. Insert photos into Canva

Now, you can add your photos into Canva. Start by starting a new design on a landscape template and just messing around with the layout of the photos in the design. Just play around with the sizes and see what fits together, like a puzzle. You can also leave a bit of space on the design to write down your goals so they are visible as well.
4. Add filter

Adding a filter will make everything look extra cohesive, so I added a filter called Cali. All you do is click on each picture, click edit image in the top left corner, and pick your filter!
5. (Optional) Write down your goals
Once you have photo placement figured out, if you have extra space, you can write down you goals, which is what I did…and this is also it complete!

Now that that’s finished, you can download and print it or save it as your desktop!
This is what it looks like on my laptop–

haha look you can see all the screenshots I took for this post XD↗️↗️↗️↗️↗️
Anyways, now it’s time for a VERY important announcement.
Announcement Time!
But now I’m gonna make you wait for a minute
.
.
.
.
.
.
.
.
.
.
.
.
.
.
.
.
.
.
.
a little longer
.
.
.
.
.
.
.
.
.
.
.
.
.
.
.
.
.
I’ve started an email list!
This is super exciting for me, and I hope it is for you, because when you join, you get
-Biweekly/weekly emails
and those emails contain
-lifestyle tips
-fashion tips
-super cute and inspirational phone wallpapers (like the ones on Pinterest)
-life updates
-overall inspiration
-devotionals written by me
-things I’m loving
and more!
In your confirmation email, you even get an exclusive wallpaper designed by yours truly!
maybe even the occasional un-aesthetically designed meme 😂
ok, well maybe XDDDD
Anyhow.
I would love it so so much and it would make my day, if you could head to the Subscribe page or hit this link to be taken to the list sign-up page! And not to worry, the first email will be sent directly to your inbox on Monday morning and you will get a confirmation email not long after you hit the subscribe button on the page. Also, if you are a new reader and haven’t yet, I would love it if you could hit that follow button on the sidebar as well as subscribe to my email list. That would doubly make my day, and you will get notified every time a new post is posted!
Wow. You could probably tell I was excited about that, and I am!! *wait, Mayim, calm back down* Ok. But I was excited about that and I hope that you are too, and I can’t wait to start interacting with you guys more and more through our weekly emails!
❤️ Mayim
P.S. Stay tuned for a hair-related post on Tuesday, and make sure you are subscribed to the email list to get fun stuff in your inbox every Monday morning!